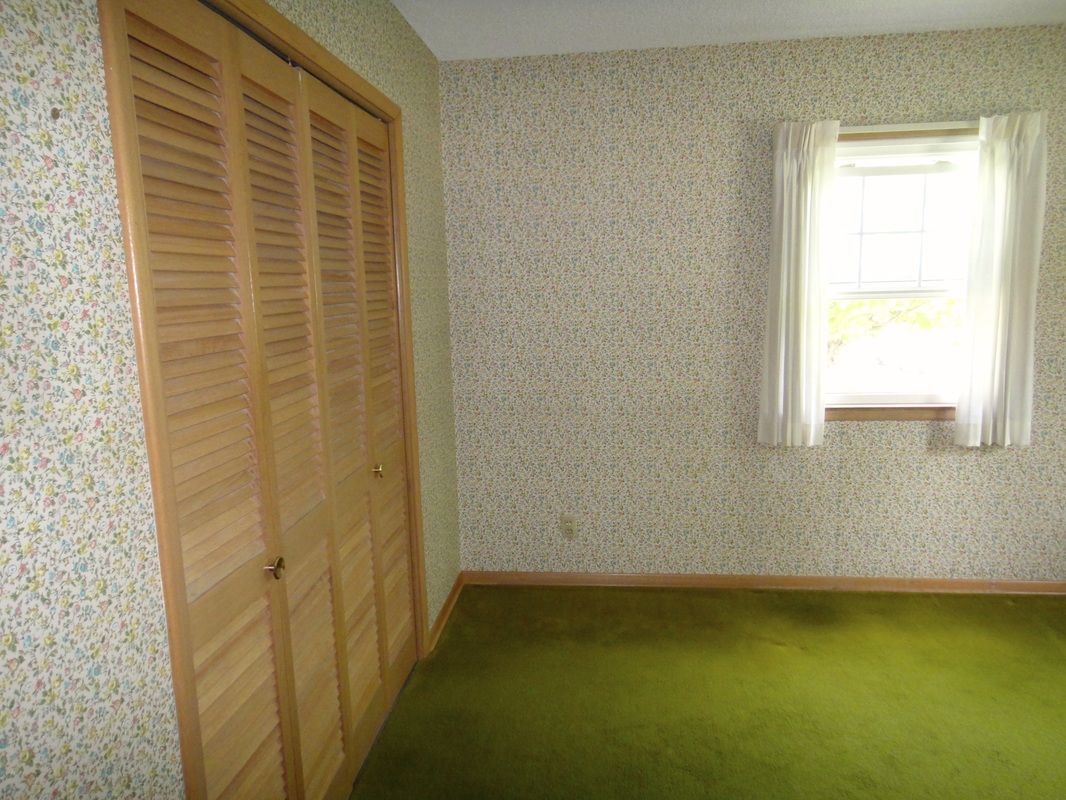
It took way longer than I expected, but I'm excited to finally show off Owen's travel-themed nursery! Hot air balloons and airplanes don the walls, floor and blankets. Fresh white trim against the gray walls looks clean and modern while accents of blue, green and orange brighten the room. This is a huge difference from the floral wallpaper and dated green carpet that decked the room when we bought the house a year ago. Lucas doubted my design plans but admitted it looks great now that it's complete. I had a lot of fun picking out all the pieces and am excited to make many memories in this room including 3am feedings, diaper changes, outfit changes, reading books and rocking away. However, I can't take credit for the Star Wars shelf... that was all Lucas.
 There are a lot of formalities and etiquette to follow when it comes to throwing a party, shower or wedding. For example, you must invite guests at least six weeks in advance, you must include "+ guest" on the invitation if a guest is allowed and you must provide party favors. I can agree with most of the rules, but I just can't get behind party favors. They are unnecessary little trinkets or desserts that most guests leave behind. Still, I don't want to look ungrateful so I do follow this rule.
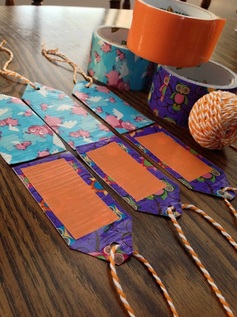
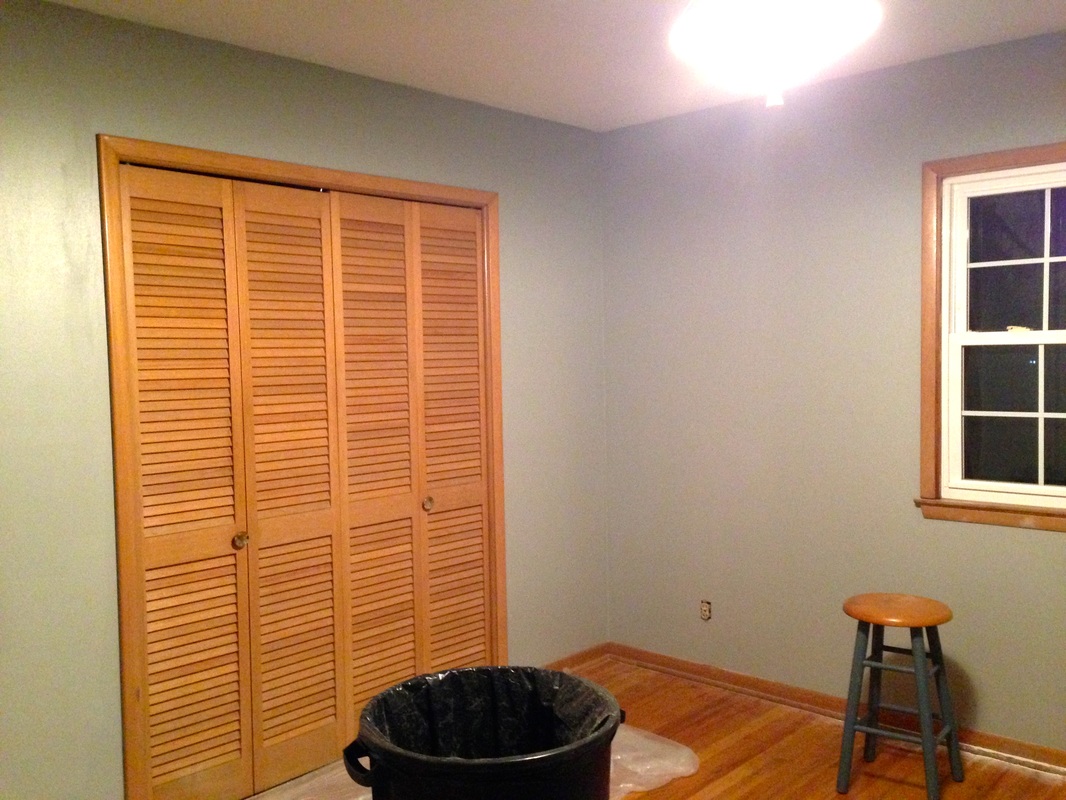
I was looking up ideas for travel-themed baby shower gifts when I came across one for do-it-yourself duct tape luggage tags. Anyone can use a luggage tag - and duct tape ones are sure to withstand the rigors of trains, planes, boats, and automobiles. Hell, I'm sure they could even survive a trip on a space shuttle (one day). They are super affordable and somewhat easy to make. I say somewhat because by nature duct tape is super sticky, which makes things a little challenging. The materials are simple: duct tape (with cool designs), string/yarn/ribbon, scissors, hole punch. Here's how to make them: 1) Fold a piece of duct tape in half so it's about 4 to 5 inches long. 2) Put another piece of duct tape (solid color) on top to write contact information 3) Cut the corners diagonally on one end 4) Punch a hole in the center 5) Loop the string/yarn/ribbon through the hole so it's about 4 inches long That's it! Guests at the shower said they thought they were cute. I hope they weren't lying... The good news is even if they don't use the luggage tags, they were very affordable to make (less than $15 for 20), and I still have plenty of tape left over. Week 31 Recap Four reasons Baby Spud's arrival feels very, very real... and imminent: 1) We finished our prenatal class at Mercy Medical Center and got a tour of the maternity and nursery area. It was comforting to see where we're going to be for delivery. 2) We received a couple baby shower gifts in the mail this week. Thank you friends! 3) I bought nursing bras. 4) The nursery is looking awesome! Lucas has done such a great job painting the walls and trim. It's come a long way since we bought the house nine months ago. He still needs to paint another coat, but he's definitely getting there! Week 32 Preview
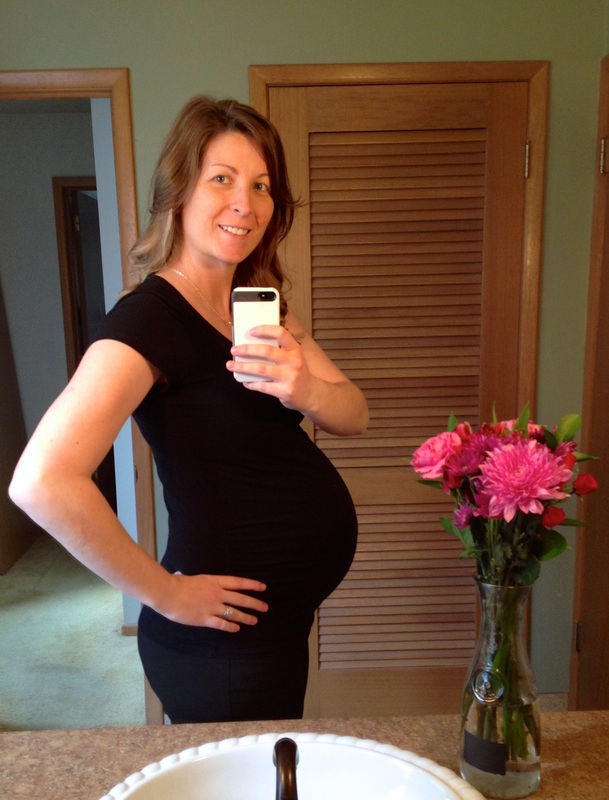
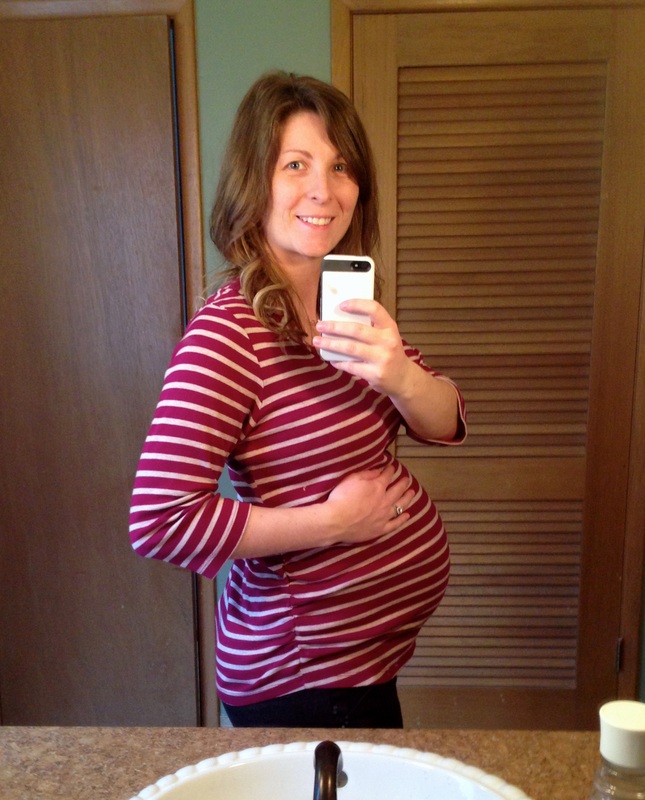
I was afraid fatigue would hit me again in the third trimester. I'm very thankful it hasn't... yet. With only two months to go, it could still sneak up on me. I hope to get the crib put together this week and that my 32 week appointment goes well. We are meeting another doctor in the practice and hope her delivery "philosophy" is similar to ours. Baby Bump In eight months full of firsts, I just experienced one I was hoping wouldn't happen: the scale hit 170. To be honest, the scale had never hit 150 or 160 either, but I knew those were coming. I was being extremely hopeful thinking I wouldn't gain more than 25 lbs. Who wants to place their bets if I hit 180 in the next 8 weeks?! Week 30 Recap
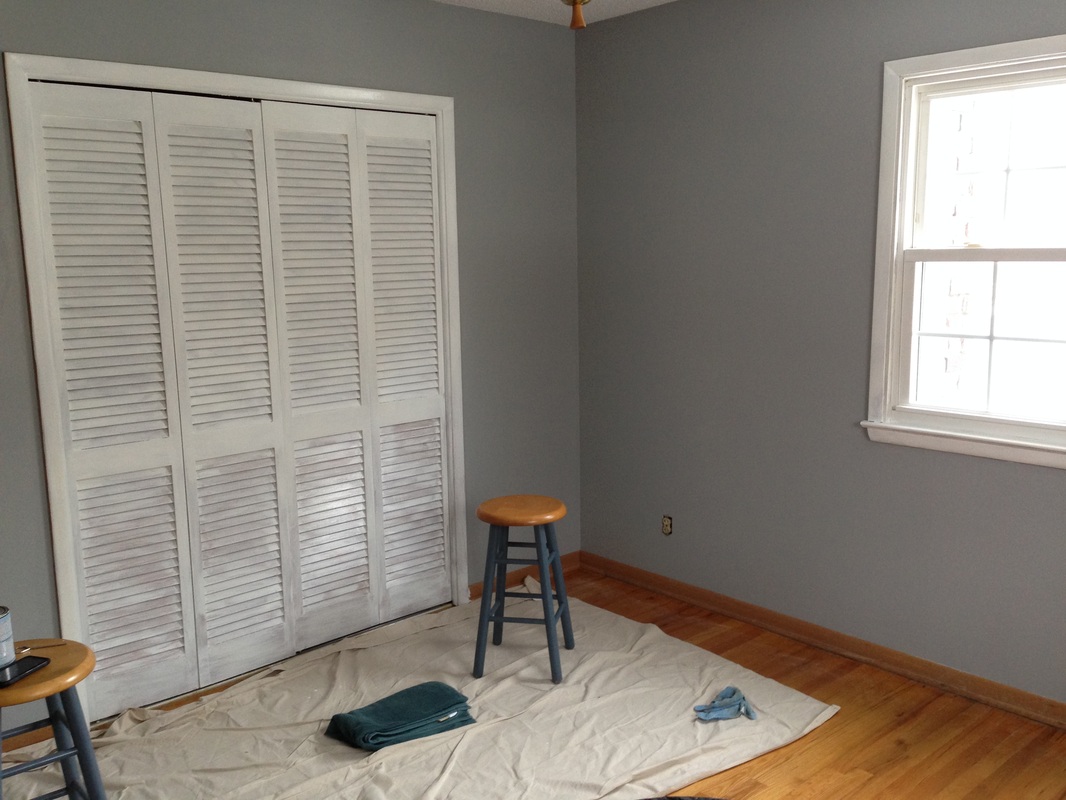
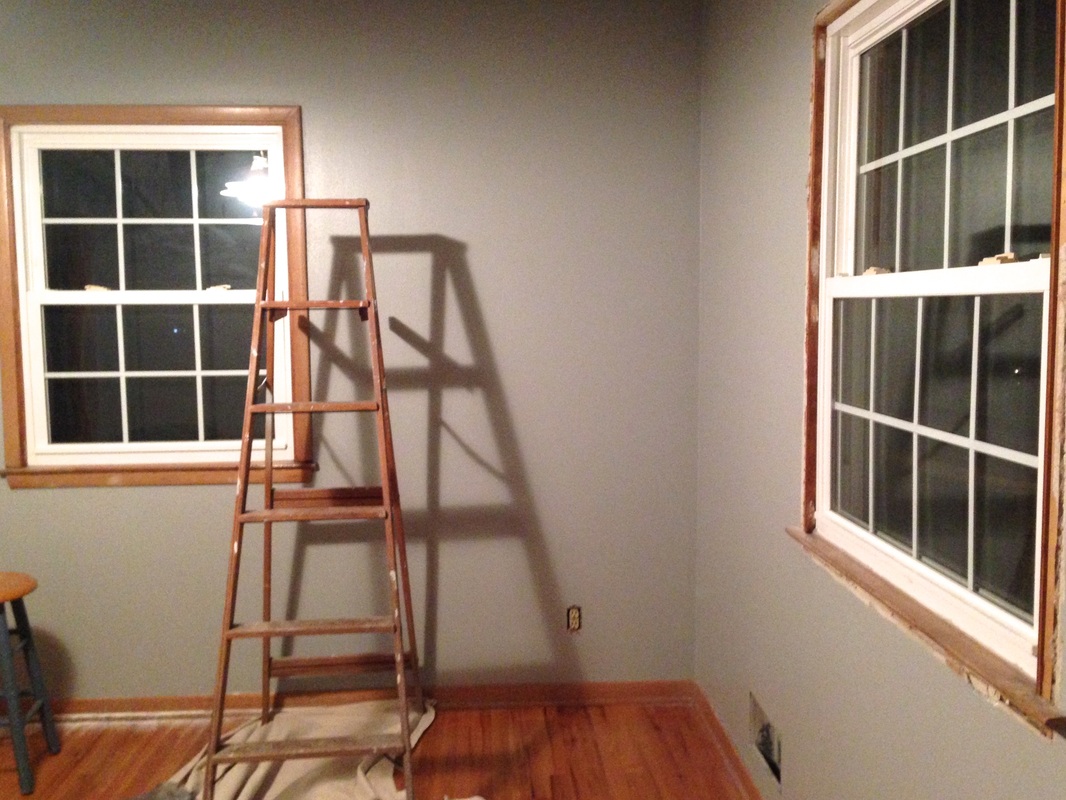
Lucas got the nursery painted! Since he won't let me paint, I'm at his mercy to get it done on his time. He removed the wallpaper two weeks ago, and I'm thankful he finally got the walls painted. Next up - the trim. I'm optimistic Lucas all tackle that this weekend. With only nine weeks to go, nothing seems to be moving fast enough. I originally thought the nursery would be around Christmas - so we're just a little behind schedule. After the trim, we can put together the crib and decorate, which is the part I'm most excited about. This past week I started experiencing indigestion. I have never had it before in my life, and it's terribly uncomfortable. Considering this is the only symptom I've had recently, I shouldn't complain. My pregnancy could be a lot harder. Week 31 Preview As part of our prenatal class at Mercy Medical Center, we will tour the maternity floor this week. We also need to figure out who's health insurance Spud is going on so I can turn in my pre-admission form to the hospital. Pre-admission forms are a great idea because that way the hospital has all of your information on file before you arrive in a world of pain ready to push out a baby. Baby Bump I don't think I've grown much since last week. I think every two weeks I have a growth spurt.  Week 28 Recap After failing the one-hour glucose screening test last week, I'm happy to say I passed the three-hour glucose tolerance test. During the test, they draw your blood four times: before taking the sugary drink, one hour after drinking it, two hours after drinking it and three hours after drinking it. Your glucose levels have to be elevated two of the four times to be diagnosed with gestational diabetes. My levels were elevated one time. So even though I passed and have no restrictions on food, I still plan to be mindful of my sugar intake - cutting back on sweets and carbs, even my beloved chocolate and sugary cereals. In other news, Lucas got the wallpaper down in the nursery! It was a beast of a job taking 12 hours over two days. Those two layers of wallpaper have had four-plus decades to become one with the drywall. We plan to paint next weekend and then start to get everything organized and situated! 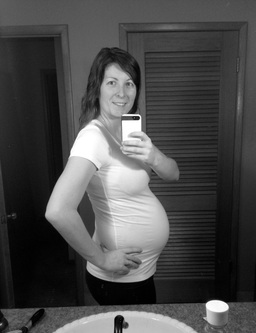 Also, Spud is dealing with hiccups! He's had them several times now. My research indicates this is not a big deal and no one really knows why babies in utero get them.
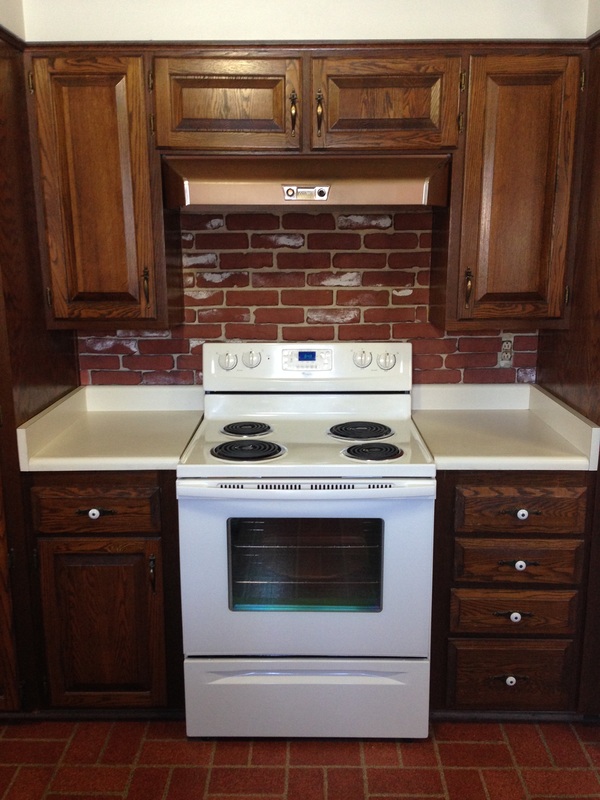
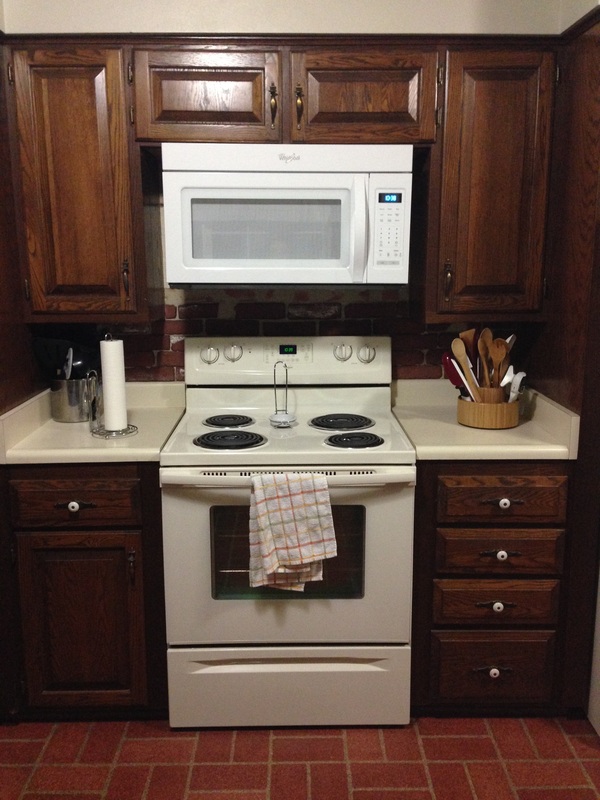
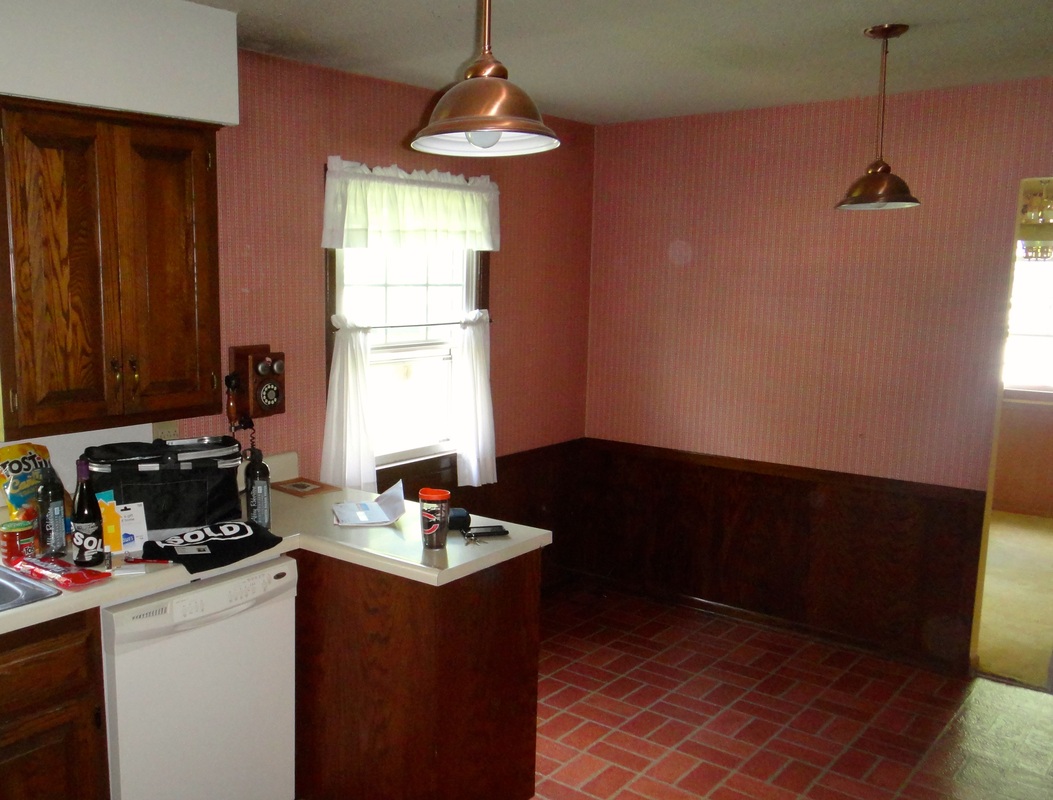
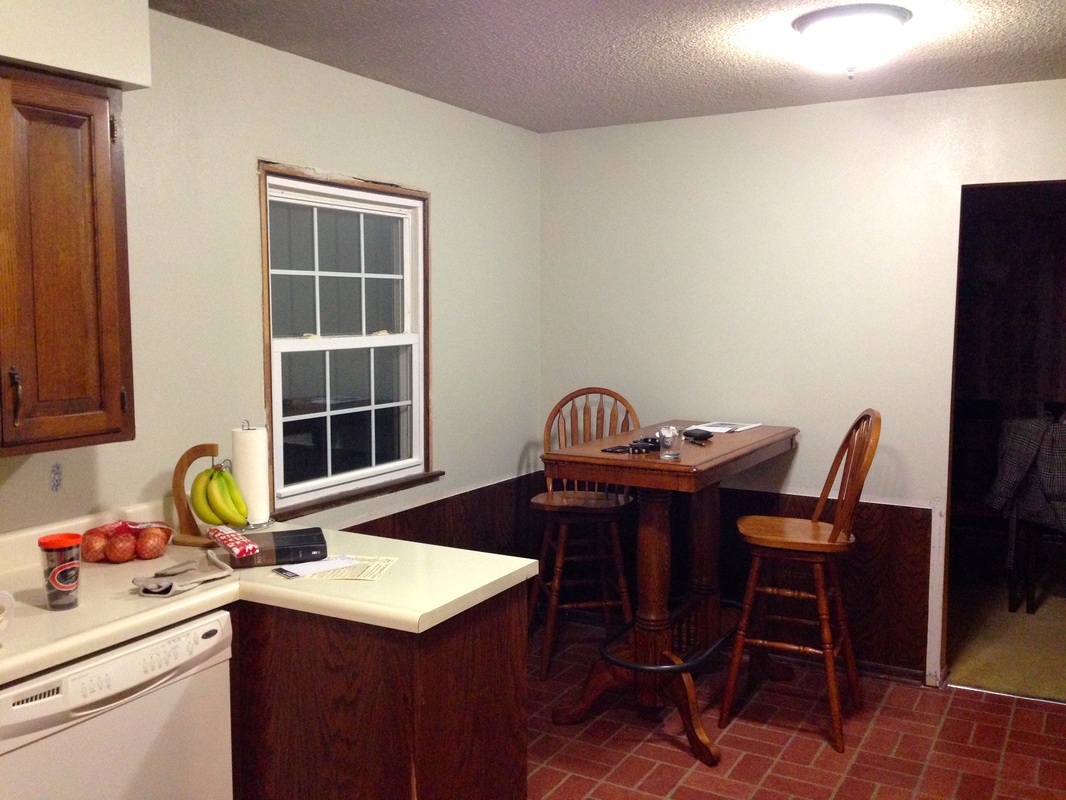
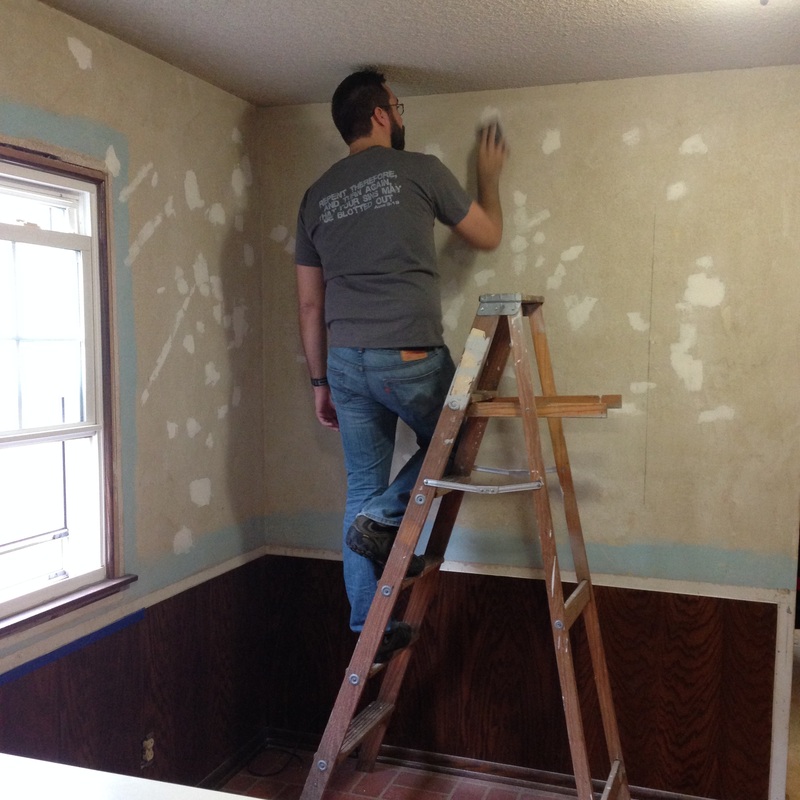
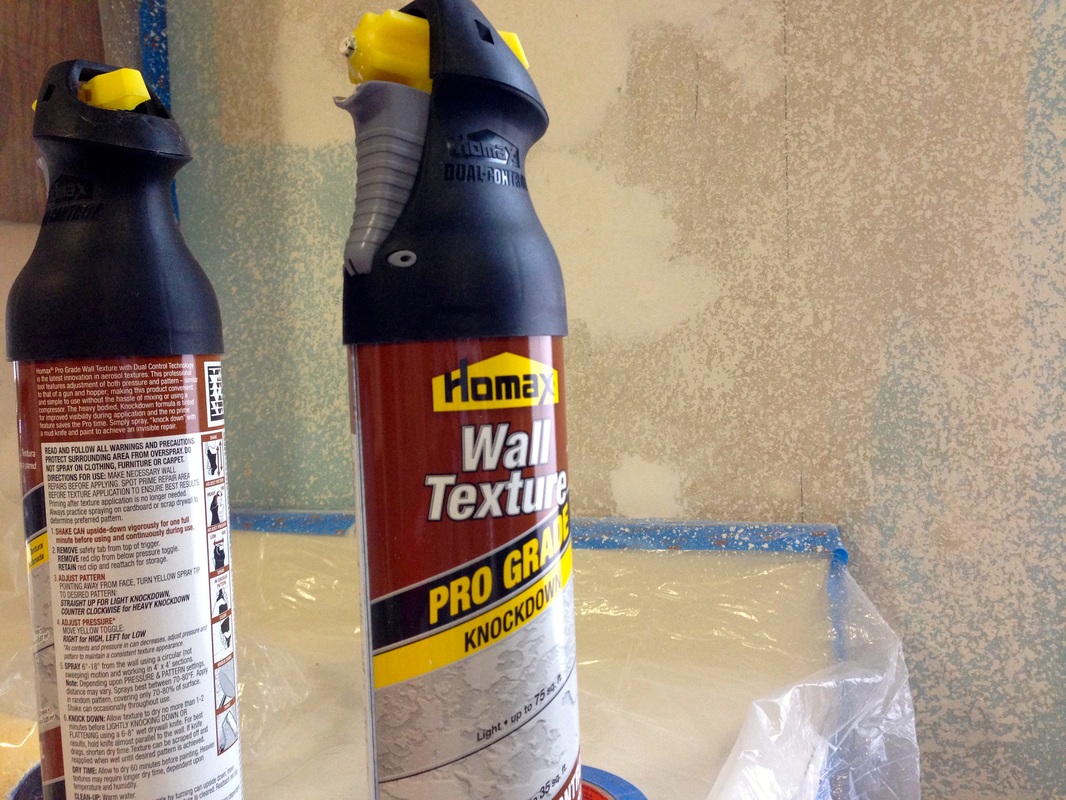
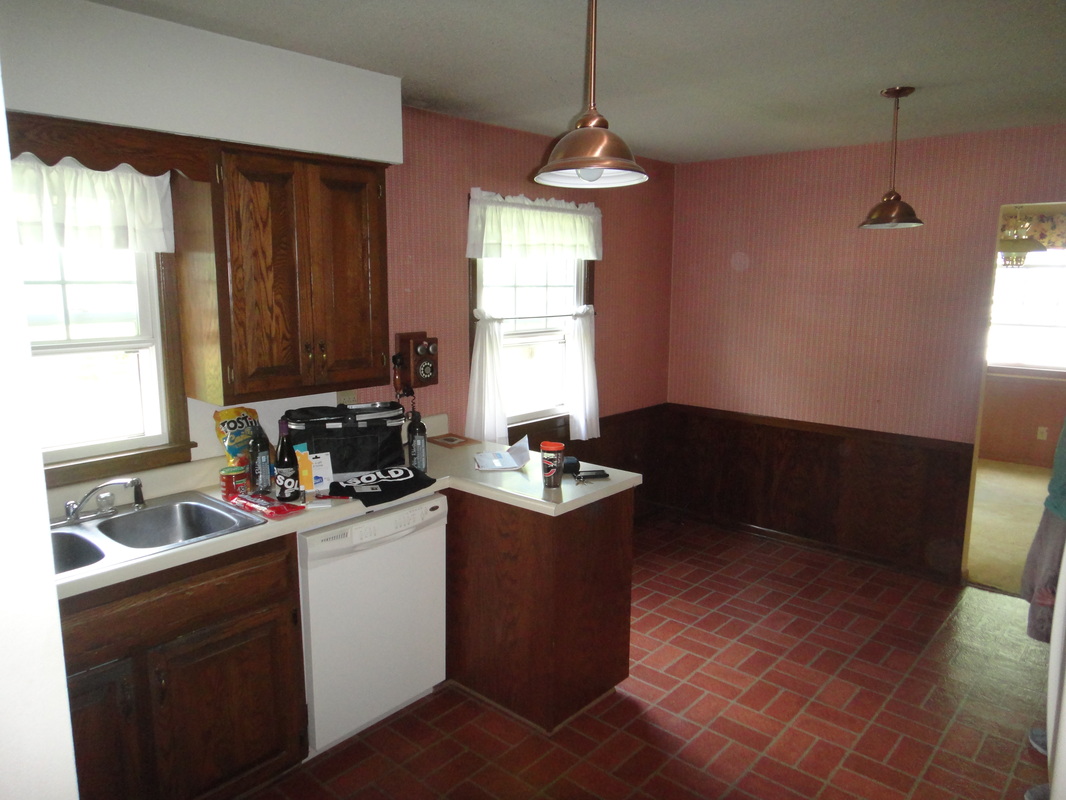
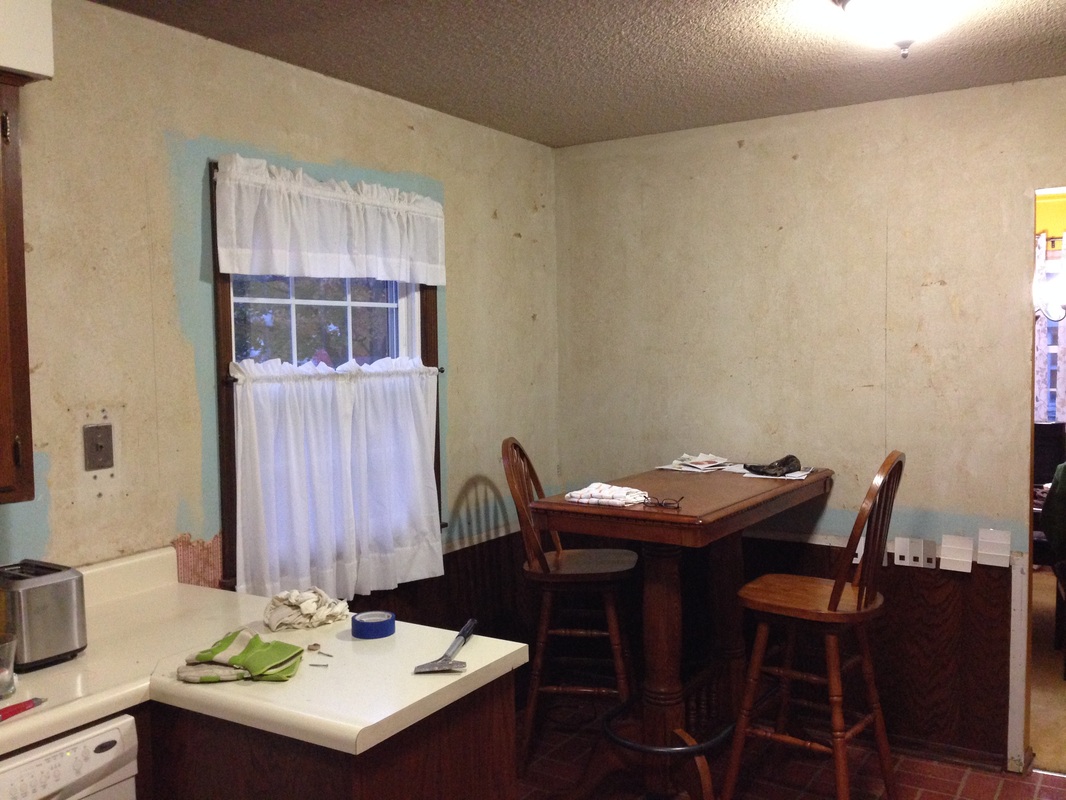
Last but not least, we had a great interview with an in-home daycare provider. I'm not telling you her name because I don't want you to steal our spot! We plan to sign the contract this week and return to her. Week 29 Preview We probably won't accomplish it this week, but we need to at least start the search for a pediatrician. Any and all recommendations are welcome! Baby Bump I'm still not crazy huge and am feeling really great. Spud's movements are getting a little stronger, but nothing uncomfortable or remotely close to painful. Finally, my kitchen has a fresh coat of paint. A month ago, Lucas and I tackled removing the not-so-lovely red wallpaper. After being too busy the past 34 days, we set aside today to paint. Honestly, I didn't do much painting. Apparently being 23 weeks pregnant and paint fumes don't mix well together. We still need to put the window and cabinet trim back up, but I shouldn't complain. I spent the last 34 days with bare walls covered with spackling. I wanted a light-medium greige (gray/beige) color. After hanging paint chips in the kitchen for several weeks, I thought I had the best color chosen. Well, it turned out lighter than I hoped. I think once we hang new curtains and some decor, it'll look very nice. The room feels much bigger, brighter and fresher compared to when it had the red wallpaper. After the wallpaper came down, we had some minor nicks and dings we had to repair. A quick spackling job on the problem areas did the trick. However, the walls were already somewhat textured and Lucas was afraid the newly smoothed areas would stick out. We decided to texturize the walls to even them out. We purchased three bottles of spray-on wall texture by Homax. At $18 a pop, it isn't the cheapest stuff, but it was very easy to use. It took Lucas less than an hour to texturize all the walls. It's water-based so it was easy to clean up accidentally misfires. The texture looks great and we're glad we took the extra time and money to do this step.
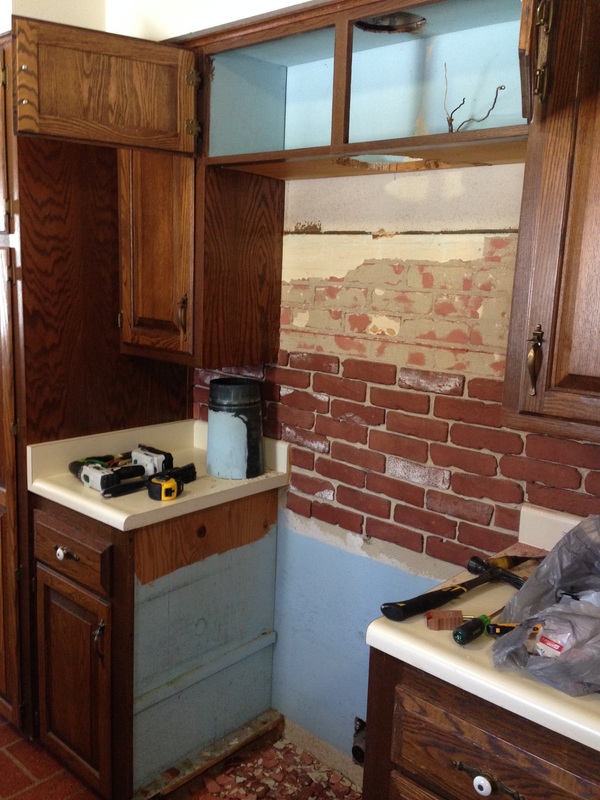
Lucas and I knew the day we put an offer on our home, we'd update the kitchen. We have a dream kitchen plan that's about 10 years down the road. However, the red wallpaper was never destined to last that long. Now that I'm officially in nesting mode, today became the day to tackle this project. Lucas was thrilled (wink, wink)! Our kitchen isn't huge so the project took 3.5 hours from prep to clean up. Not bad at all - especially considering there were two layers of wallpaper plastered on there!
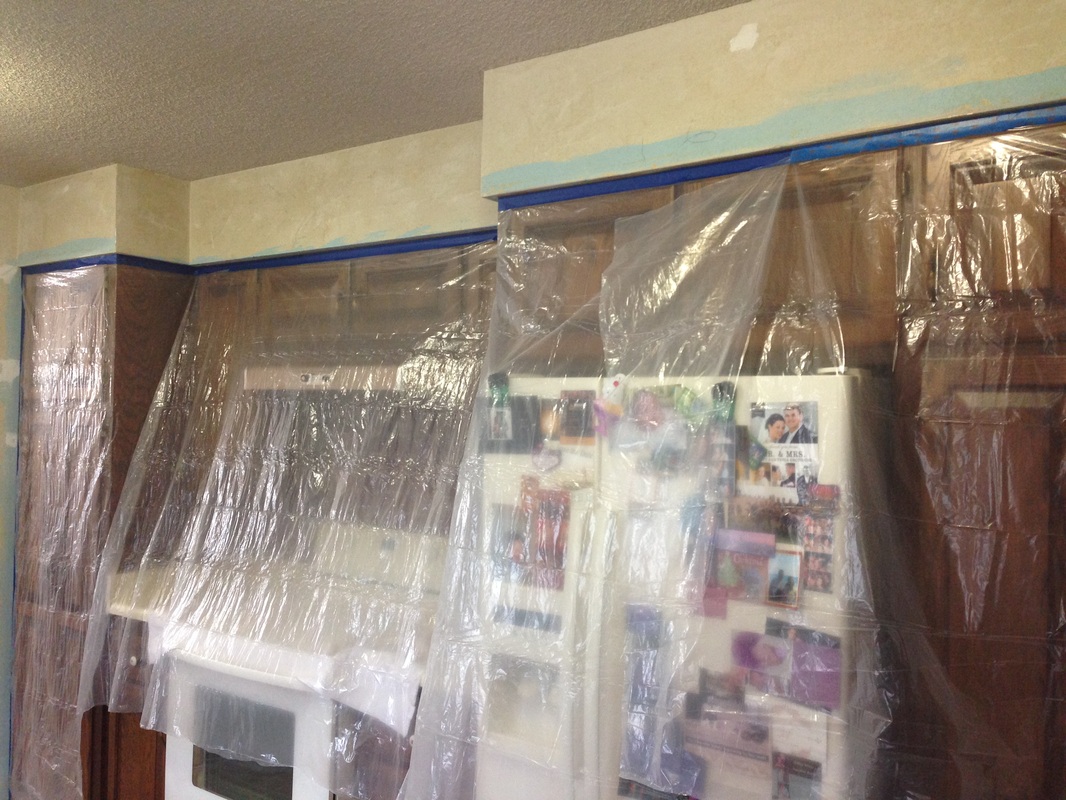
Here are the steps we went through and some helpful advice for those looking to take on wallpaper removal. 1) Remove the trim. The wallpaper was applied behind the trim of the paneling and cabinets. We decided if we're going to do this project, we're going to do it right. It wasn't too hard for Lucas to carefully pry the trim off the paneling and cabinetry. This will also allow for a better paint job. 2) Score the walls. The last time I removed wallpaper was few years old at my parents' house. I used a round wallpaper scorer. This made the cuts so little that you couldn't peel off the paper in large chunks. Today, we used about a 5x5 inch diamond pattern. This worked very well. Also, score all the walls before you start if you are using a wallpaper steamer, like we did. We did not score all the walls, and then got stuck wasting steam (no on/off switch) as we moved to a new location and had to score it. 3) Tape on a drop cloth. If you use a steamer, you need to protect any wood and carpeting. We taped a drop cloth above the paneling to keep the hot water and steam from damaging the wood and to catch all the wallpaper debris. Our floor is vinyl, so we weren't too worried about getting it wet. 4) Wear shoes, long sleeves and gloves. I was in socks; Lucas was in his slippers. Well, when you toss the wet wallpaper to the ground, you're bound to step on some. It's like paper machete and easily sticks to your feet. You don't want to run wallpaper through the wash on your socks or have to scrape it off your house slippers. Also, steamers will drip water, which did hit Lucas in the arm and me in the hand several times. That shit is hot. Wear long sleeves and gloves. 5) Use a wallpaper steamer. When I last stripped wallpaper, I used a round scorer and wallpaper solution. This did not work well. Fortunately, our friends let us borrow a wallpaper steamer. It took about 10 minutes to get the hang of it, but once we did, it worked very well. The directions say to hold the steamer for 10 seconds, move on to a new section and scrape off the wet part from the first section. As one person, you'd have to be really talented to do that. Four hands worked great. Lucas and I found a good rhythm and switched off between who was steaming and who was scraping. Once the paper was well-steamed (sometimes it took a second time), it came off super easily. Stay tuned as we clean up the walls and paint them! Hopefully, that will happen within the week. My sister-in-law tied the knot back in March. I offered to shoot the ceremony and create a wedding video. She loved the idea. She's been very patient as I kept telling her the video was on the way. This weekend - finally - proved to be the right time. I wasn't traveling and only had a few commitments I could work around. When it comes to editing video, I have to be in the right mood. It's like any other creative outlet. If you're not feeling creative, it's not going to turn out. I was feeling it this weekend and am happy to have already gotten her a three-minute "highlight" video, which I shared here. (I do not own the rights to the song in the video - A Thousand Years by Christina Perri.)
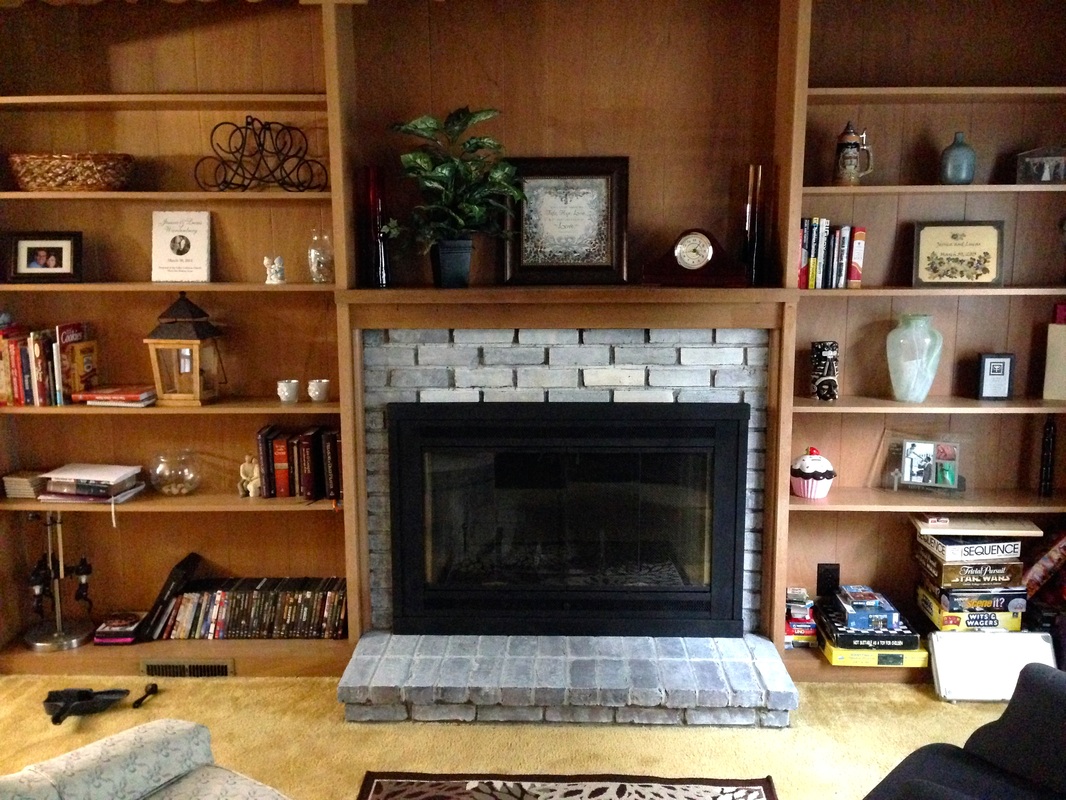
I also created a full-length video for the Mr. and Mrs. This video starts with the seating of the grandparents and ends with the couple driving away from the church. In case, tomorrow or years down the road, they want to re-live the ceremony moment-for-moment, they can. The 30-minute video leaves nothing out - including a few funny bloopers from the pastor. I edited my own wedding video, but this was the first time I edited someone else's wedding video. It was fun to create, and I'm happy I can provide these memories... for free. The amount of money wedding videographers charge is pretty crazy. I like to think I'm off to a good start with one happy client. Enjoy! When Lucas and I bought our first home in May, we created a list of projects. Our home was built in 1961, and while in great structural shape, it's cosmetically stuck in the 60's. One of the projects on the to do list was the fireplace. We love having a fireplace and built-in shelves, but the old brick and brass look just didn't ring our bell. I convinced Lucas to let me whitewash it. The Brick Whitewashing is not the same as painting. When you whitewash, you mix the paint with water to allow some of the brick's natural color to come through. The big decision you have to make is how much color you want to show. Looking around online I found a few different formulas. Some recommended 1 part water to 1 part paint for a more white look. Some recommended 3 parts water to 1 part paint to show more brick color. I decided to go with 3:1 at first. Below is the result. The brick almost just looked dusty. So I went back over with another coat of 2:1. First, clean off the bricks. Who knows the last time they were cleaned, so getting off any dust, grime and soot is a good idea. Use a paintbrush to apply the paint, and have a rag handy to catch any drips. After the paint sits for a minute or two, feel free to dab the bricks to blend in the paint and remove the brush strokes. If you start to dab right away, you will remove a lot of the paint so make sure to let it set. 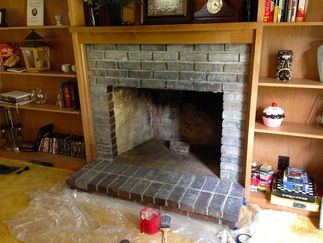
Whitewash with 3 parts water to 1 part paint
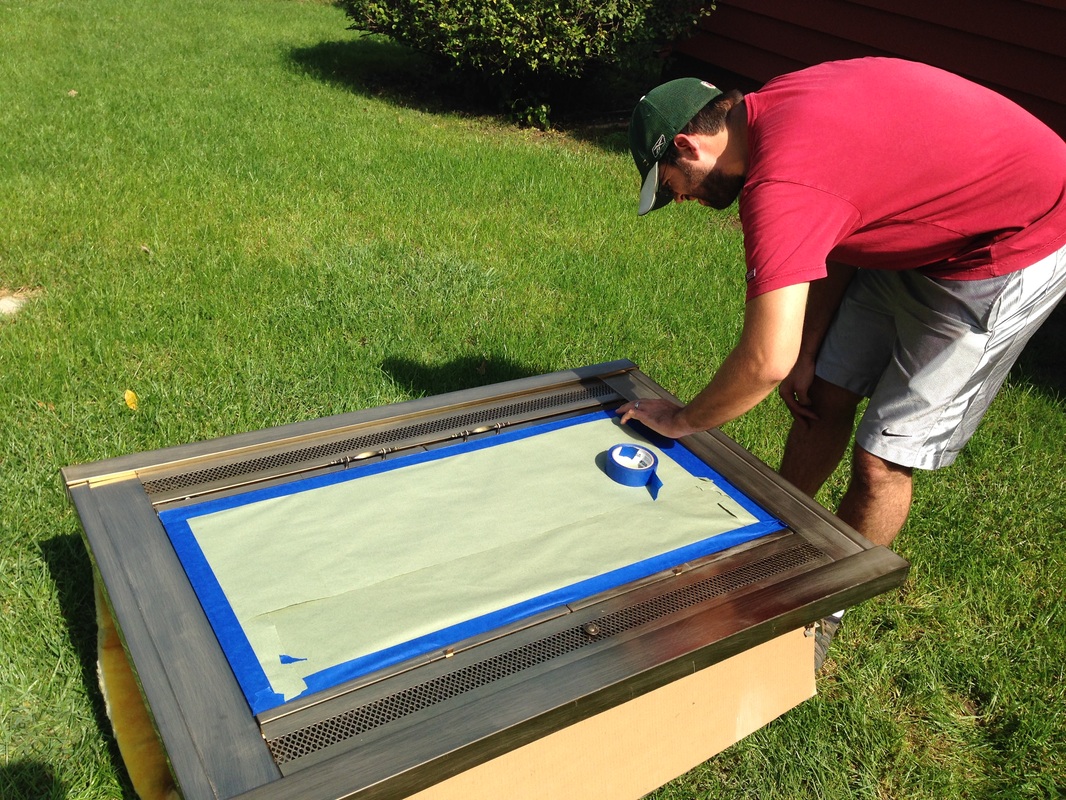
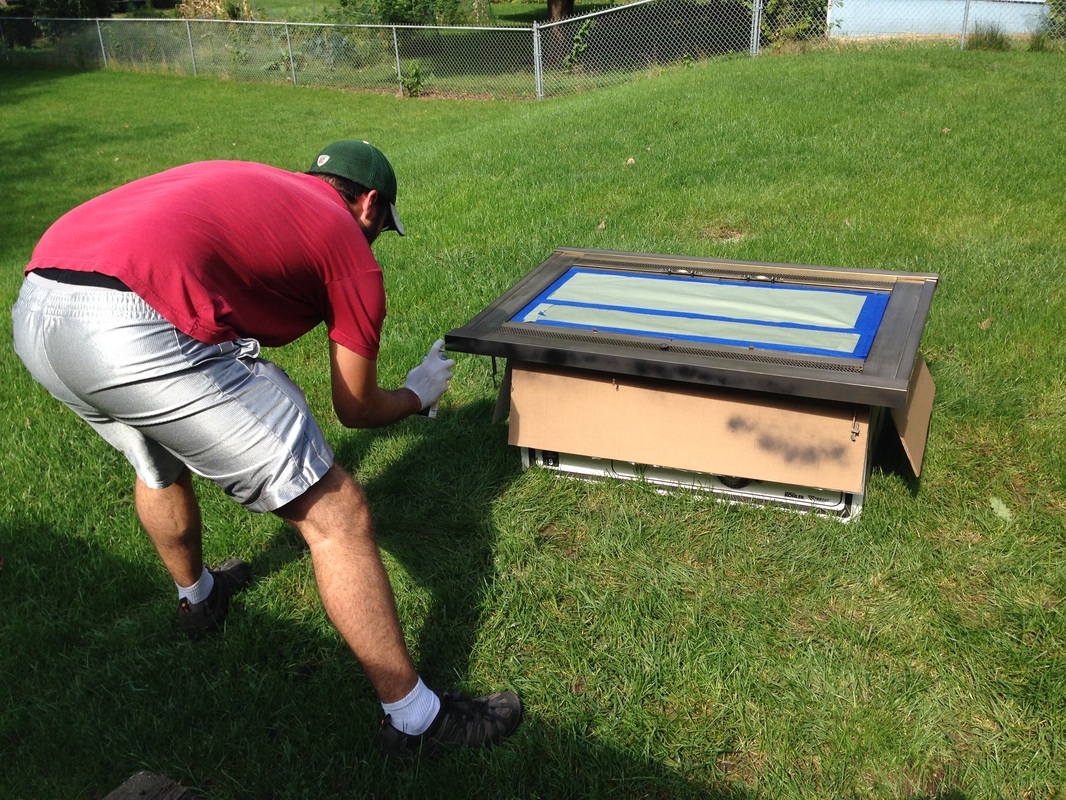
The Cover Meanwhile, Lucas was in charge of spray painting the fireplace cover. That brass just had to go. To remove the cover, we found four clamps holding it to the brick on the inside - one in each corner. A couple turns of the screwdriver and it popped right off. Lucas cleaned it off, gently rubbed it with a wire brush (to help the spray paint stick) and taped off the windows. We originally purchased only one can of Rustoleum high heat spray paint, but Lucas went back to get a second one. That's a lot of brass! Unfortunately, the high heat spray paint doesn't come in bronze/brown. So while I don't love the black, it's way better than the brass. The Price
The project cost less than $15 for the two cans of spray paint and an 8-oz sample of Ultra White Valspar paint. It took about 4 hours, including two trips to the store, cleaning out the cobwebs inside the fireplace, painting, whitewashing and putting back together. I'd say that's worth it! | The ChallengeExperience something new every day. CategoriesAll ArchivesFebruary 2015 |


 RSS Feed